Adobe has announced a major update to Premiere Pro CC, After Effects CC and Media Encoder CC. As expected, there are many under-the-hood improvements that affect Mercury Engine and now Mercury Transmit, but the incredible thing for me about this upgrade is that Premiere Pro CC seems to be turning into the app I wished had been released as Final Cut Pro 8! It is becoming more and more intuitive for those of use who have been editing on FCP or Avid for years.
Here are some of the new features that I find most interesting.
Masking and Tracking in Premiere Pro
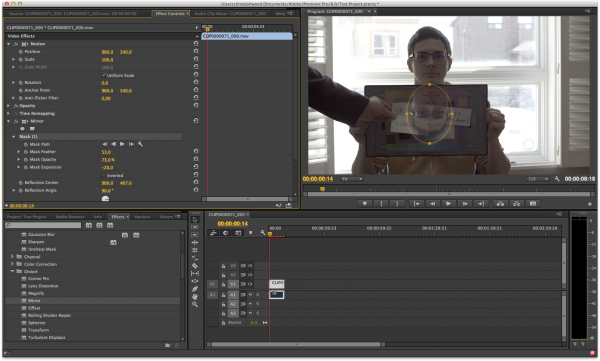
All applied effects can now be shape masked and tracked. This allows for “power window” style color correction or hiding of license plates, faves, etc.
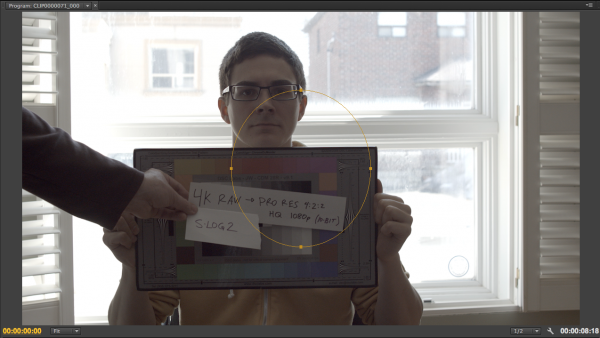
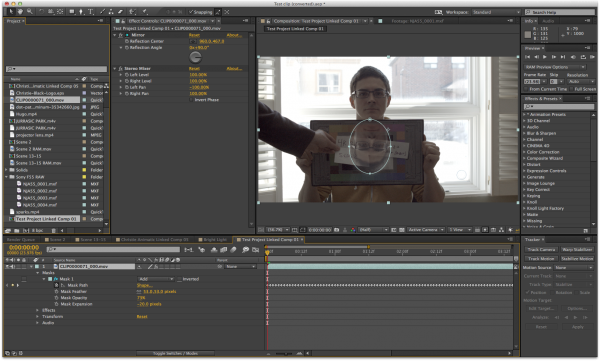
In this example I used the mirror effect and and ellipse shape mask to restrict it to just the face. Standard feathering controls are available as well as mask shape editing similar to After Effects. In fact, if the clip is replaced with an AE composition via Dynamic Linking the mask can be further tweaked in After Effects.
After Effects now supports Sony 4K RAW
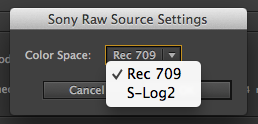
I really could have used this feature for a 4K RAW job a few weeks ago. Premiere Pro has supported Sony’s 4K RAW with the optional Sony plugin, but not in After Effects. There will be no more transcoding to ProRes4444 just to work on RAW clips in AE. After Effects uses the same source settings option to switch the display LUT from default REC709 to SLog2 (found in “Interpret Fooage.) Slog3 isn’t supported yet.

After Effects has some new keying tools
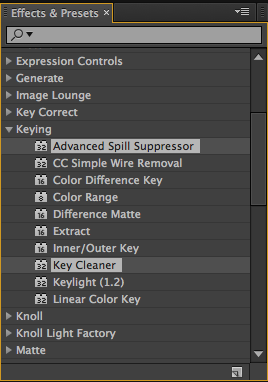
I haven’t had a chance to test these new tools against the old ones but it sounds like they are much improved. You will find “Advanced Spill Suppressor” and “Key Cleaner” in the Keying folder of Effects & Presets.
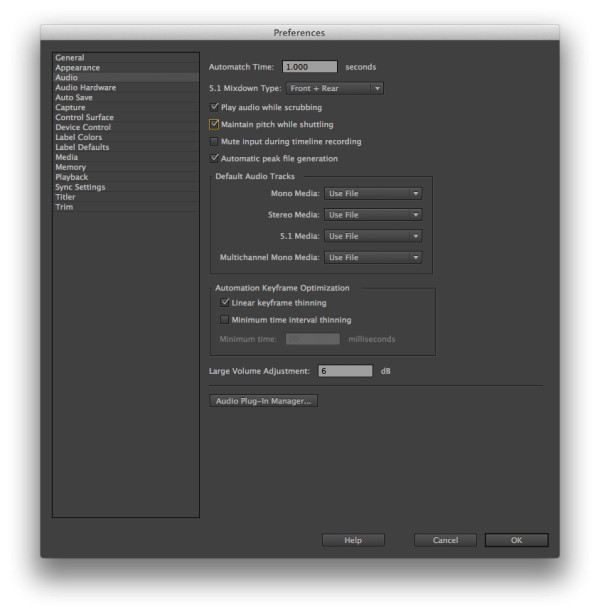
PP: Preference to maintain audio pitch during scrubbing
This is one of those features we have taken for granted in other NLEs for years and sorely missed in Premiere Pro.
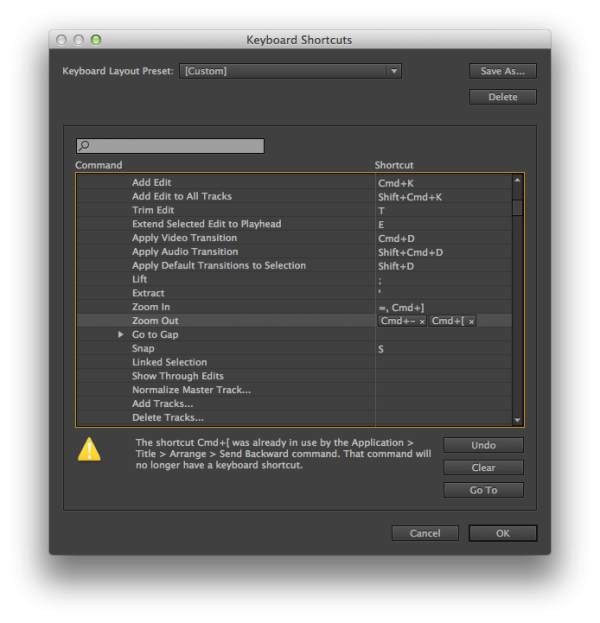
PP:Ability to assign more than one keyboard shortcut to a command
I’m not sure what the actual limit is, but I have successfully assigned up to three keyboard shortcuts to many commands in Premiere Pro. This feature is very useful to those of us who jump from Avid to FCP to Premiere Pro and want to unify our keyboard shortcuts.
PP: Preserve bin structure on folder import
Once again this is a feature that we took for granted in legacy Final Cut Pro for the last decade. If I have already organized my files into folders in the Finder, now Premiere Pro will honor the file structure as bins within bins.
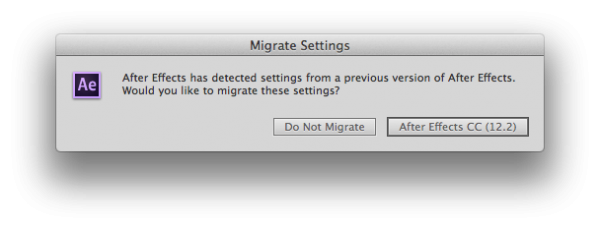
Sync settings from previous Creative Cloud versions
This seems like a no-brainer. When launching the new version of AE or PP the user is asked if they want to sync setting from the cloud.
PP:Additional import options for Premiere Pro project file
Now the user will have the options to create a new folder (bin) for imported items and also allow the importing of duplicate items.
PP:Manual sync offsets
Now the user will be allowed to slide linked clips that are slightly out of sync back into sync. A “Sync Offset” data column has been added to the Project panel, which can display the number of frames (+ or -) for the audio track.
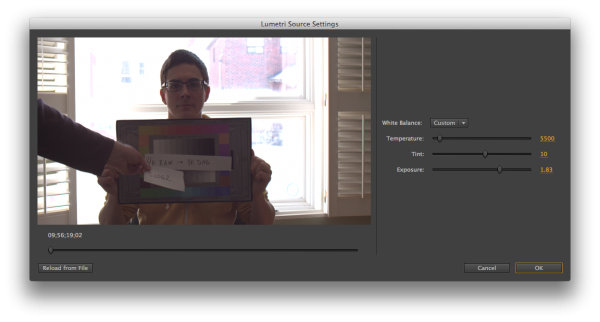
PP & AE:CinemaDNG Source settings
CinemaDNG source clips can be adjusted and changes will propagate to clips already in a sequence. This feature is designed for RAW clips from Blackmagic cameras, but I was able to successfully test it with Convergent-Design Odyssey7Q RAW clips.
PP:Media Browser favorites
A nice feature that lets you make favorite shortcuts to media folders.
PP:Set to frame size command
The “Set to Frame Size” command differs from the old “Scale to Frame Size” command because it retains the original high-resolution pixel information instead of rasterizing to the sequence resolution. For example, if you are editing in a 1080p sequence with 4K source files, you will be able to use Set to Frame Size, which will appear to scale the 4K down to 1080p, but you will still be able to scale the clip above 100% and utilize the available 4K pixels. The effects palette will display the actual scale values for the full-resolution source.

PP:Preserve intrinsics and effects when flattening multicam
After flattening, the resulting flattened clip should look the same as in the unflattened multicam sequence. I’m not sure why this didn’t function like this before but it is good that applied effects are no longer stripped.
PP:Clean up of effects and transitions for Mac/Windows parity
All effects are now available on both Windows and Mac. This means that many effects were deprecated (antialias, ghosting, bend, blue screen key, chroma key, Camera View, RGB Difference key, H and V Hold) but other effects were ported (Lens Distortion, Color Pass, Color Replace, Non-Additive dissolve, cross zoom) and are now available on both platforms.
Auto-Save to Creative Cloud
This is what the cloud is all about. Auto-saving to the cloud means that if your local hard drive fails you can always get the latest version of your project back from the cloud.
Blackmagic Pocket Camera now supported
The files created with the Pocket Camera were different from the Cinema Camera and were not supported until now.
PP:Reverse Match Frame
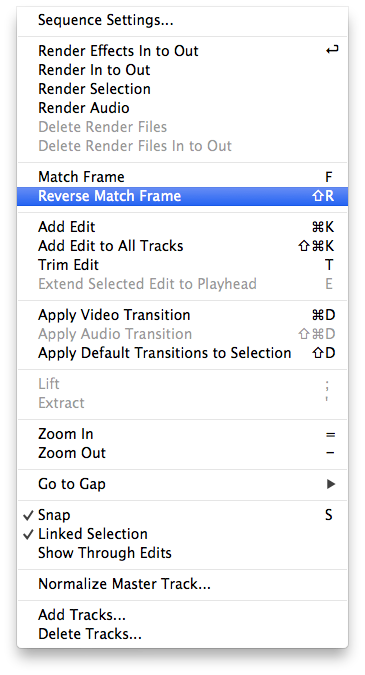
Here’s another feature that we’ve taken for granted for years in both Avid and Final Cut Pro legacy. Reverse match frame is extremely useful for loading the original source clip into the source monitor based on the playhead in the sequence, not the clip that sits in the sequence. The default keyboard shortcut is SHIFT-R.
Typekit access
A new menu item “Add Fonts from Typekit” was added that lets you browse and download Typekit fonts, which should be free of charge with your CC subscription.
PP:Marker Name now displayed in the Markers panel
A nice little addition to help ID markers.
PP:Track select Backwards
Once again, another time-saving Final Cut Pro legacy feature that lets the use select and move everything to the left on all tracks.
![]()
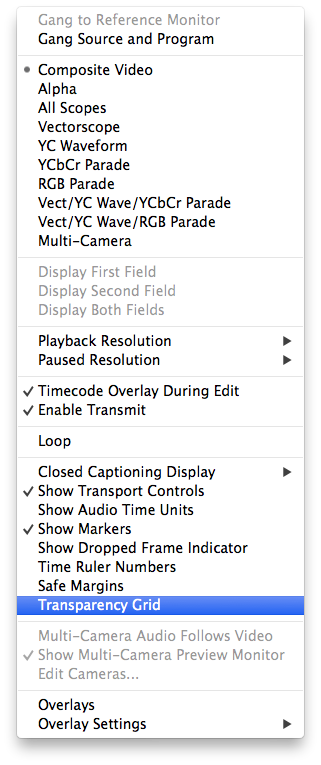
PP:Option for monitor background to be checkerboard for transparency
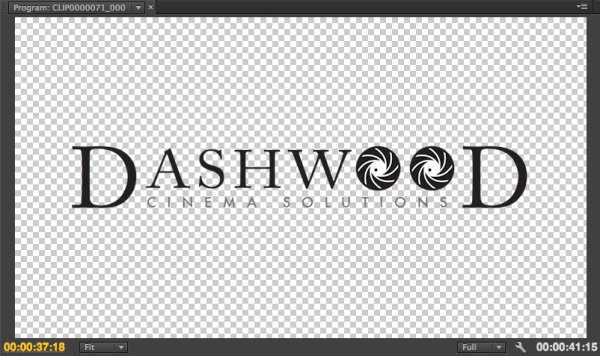
Have I mentioned how many features have come from Final Cut Pro yet? It’s a great feature for quickly checking if your alpha channel is working properly on imported graphics. All I can say is “finally.”
PP:Separate toggle track lock shortcut for all audio and all video tracks
This is a new shortcut that can be assign to any keyboard combination. I prefer the FCP legacy method of option-clicking the lock on any track, but this will do.
PP:Preference to specify the number of frames for “step forward/backward”
This one seems eerily familiar too. The specifies how many frames the playhead skips when holding down SHIFT while pressing the left or right arrow.

PP:Double-clicking sequence clip automatically moves Source monitor playhead to matching frame
‘Nuff said.
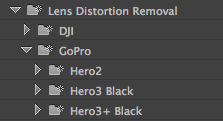
PP:GoPro camera lens distortion removal presets
Presets are now available that use the Lens Distortion video effect to remove the distortion created from GoPro camera’s wide angle lens. I had actually created a plugin for this called Level Horizon but it is nice to see that it is now available as a preset.
PP:Master clip effects
Finally, Premiere Pro will now allow us to apply effects to a source clip ‘before’ editing it into a sequence. Another FCP legacy feature, the practical use is to apply a display LUT for offline editing that can quickly be removed from the source files before conform and color correct.
PP:Arri AMIRA support
Upon importing clips shot on AMIRA with LUTs associated, Premiere Pro automatically recognizes the LUT, converts them to Lumetri looks, and applies them as master clip effects.
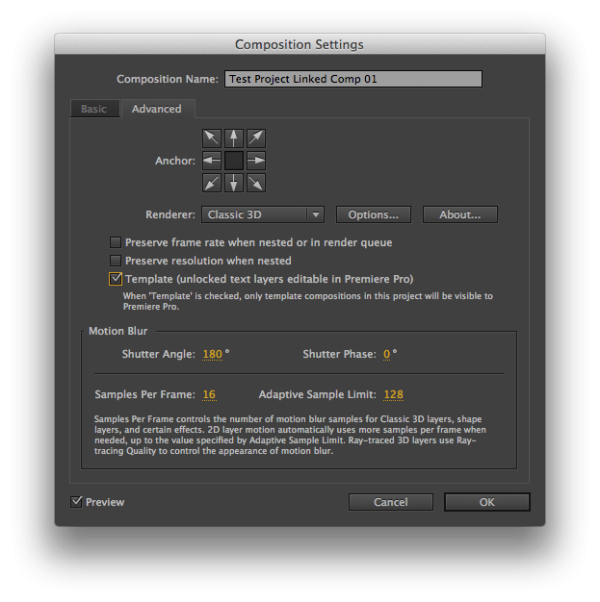
AE & PP:After Effects text templates
This feature allows and AE compositor to specify text layers in a comp as editable directly within Premiere Pro when that comp is imported. Look out for a lower-third marketplace to come soon!
PP:RED GPU de-bayering
RED format clips now use the GPU (OpenCL or CUDA) for debayering to improve playback performance. Maybe you don’t need that RED Rocket afterall?
PP:MPEG-4 SStp format (Simple Studio Profile) now supported
PP:An “export” command has been added to the right-click contextual menus in the Project Panel
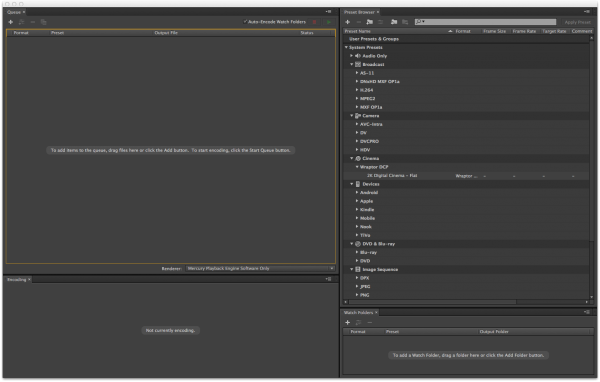
Media Encoder can now export a 2K DCP !!!
This is great news for independent filmmakers who need to send DCPs to film festivals. I haven’t had a chance to test it yet, but it looks to be as easy as encoding a H.264. I’m not sure how surround sound files will be handled yet.

And the Pièce de résistance:
There is now a keyboard shortcut to open the keyboard shortcuts panel.


